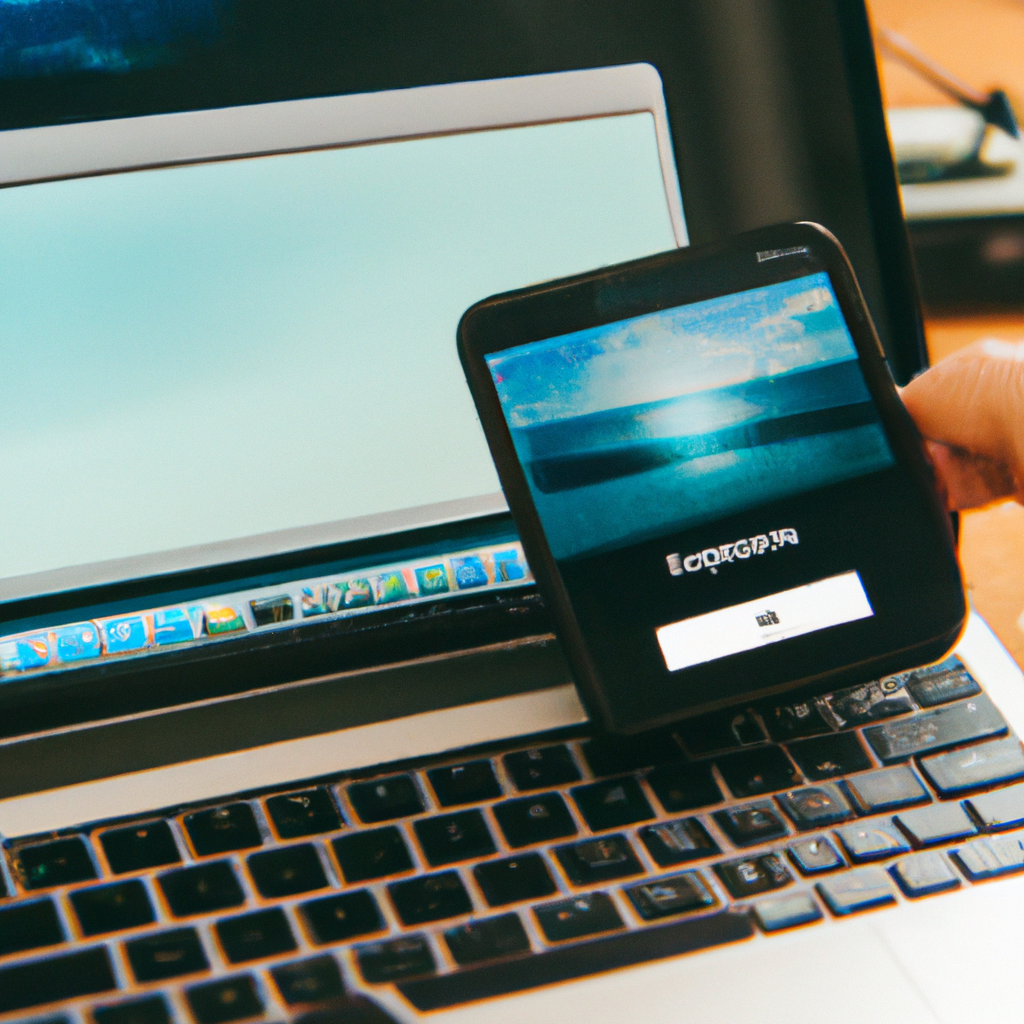
Transfer iPhone Photos to Laptop
In today’s digital age, our smartphones have become an indispensable tool for capturing precious moments through photographs. The iPhone, in particular, has revolutionized the way we take and store photos with its high-quality camera. However, as the number of photos in our iPhone increases, so does the need to transfer them to a safer and more accessible location, such as a laptop. Transferring photos from iPhone to laptop not only frees up storage space on your device but also ensures the preservation and organization of your precious memories. In this article, we will guide you through the efficient ways to transfer iPhone photos to a laptop, step by step.
Table of Contents
Step 1: Connect iPhone and Laptop via USB Cable
The first step in transferring iPhone photos to a laptop is to connect the two devices using a USB cable. Ensure that both your iPhone and laptop are powered on and the USB cable is in good condition. Plug one end of the USB cable into the port of your iPhone and the other end into an available USB port on your laptop.
Step 2: Enable Trust on iPhone and Laptop
After connecting the iPhone and laptop, a prompt may appear on your iPhone’s screen asking for your permission to trust the connected computer. Tap “Trust” to establish a secure connection between the devices. On your laptop, you may also need to authorize the connection by entering your login credentials or providing administrator access if prompted.
Step 3: Launch iTunes or Finder on the Laptop
Once the iPhone and laptop are connected and trusted, it’s time to launch the appropriate software to facilitate the photo transfer process. If you are using a Mac, you can use the Finder application, while Windows users can rely on iTunes. Open the respective application on your laptop to proceed to the next step.
Step 4: Select iPhone Device on iTunes or Finder
In iTunes, you will find your iPhone listed as a device in the upper-left corner of the window. Click on the iPhone icon to access its settings. If you are using Finder, you can find your iPhone listed under the “Locations” section in the left-hand sidebar. Click on your iPhone’s name to proceed.
Step 5: Choose the Photos to Transfer to Laptop
Once you have selected your iPhone device, you will be presented with various options and categories. To transfer photos, navigate to the “Photos” tab, which is usually located on the top menu bar. Here, you can choose to transfer all your photos or select specific albums, events, or moments that you want to transfer to your laptop.
Step 6: Configure Destination Folder on Laptop
Before initiating the transfer process, it is important to configure the destination folder on your laptop where the transferred photos will be saved. By default, the software may suggest a folder, but you can also choose a different location by clicking on the “Change” or “Browse” button. Select a suitable folder on your laptop where you want the photos to be saved.
Step 7: Start the Photo Transfer Process
With the photos selected and the destination folder specified, you are now ready to start the photo transfer process. Look for a button or option that triggers the transfer, such as “Sync” or “Transfer,” and click on it. The software will begin transferring the selected photos from your iPhone to the specified destination folder on your laptop.
Step 8: Monitor the Progress of the Transfer
While the transfer is in progress, it is advisable to monitor the progress to ensure a smooth and complete transfer of your photos. Depending on the software you are using, you may see a progress bar, a status indicator, or a detailed summary of the transfer process. Keep an eye on this information to ensure that the transfer is proceeding as expected.
Step 9: Safely Disconnect iPhone from Laptop
After the transfer is successfully completed, it is important to safely disconnect your iPhone from the laptop to avoid any data corruption or loss. In iTunes, click on the “Eject” button next to your iPhone’s name. If you are using Finder, simply drag your iPhone’s icon to the trash bin to safely disconnect it from the laptop.
Step 10: Verify Successful Transfer on Laptop
To ensure that the photo transfer process was successful, navigate to the destination folder on your laptop where the photos were saved. Open the folder and check if all the transferred photos are present and intact. Take a moment to browse through a few random photos to confirm that they are of the same quality as the originals on your iPhone. If everything looks good, congratulations! You have successfully transferred your iPhone photos to your laptop.
Conclusion: Benefits of Efficient iPhone Photo Transfer
Transferring iPhone photos to a laptop is a crucial step in managing and preserving your photo collection. By following the step-by-step guide mentioned above, you can ensure an efficient transfer process, freeing up valuable storage space on your iPhone while keeping your cherished memories safe and accessible on your laptop. Additionally, with your photos stored on a laptop, you can easily organize, edit, and share them with friends and family. So, don’t let your iPhone’s photo library become a cluttered mess – take the time to transfer your photos to a laptop and enjoy the benefits of an organized and secure photo collection.
